We’ve all been there. You click on a link and end up on a 404 error page. Not the best experience, right? Unfortunately, this is very common, and it happens because the web page you were looking for does not exist anymore or got moved to a new location.
When you own a website, it is your responsibility to fix these 404 issues that will not only frustrate your visitors but also harm your site SEO. The good news is that’s quite easy to do with redirects. In this article, we will show you how to create redirects with the following methods:
- By using plugins, and
- Configuring the .htaccess file.
What is a WordPress redirect and how does it work?
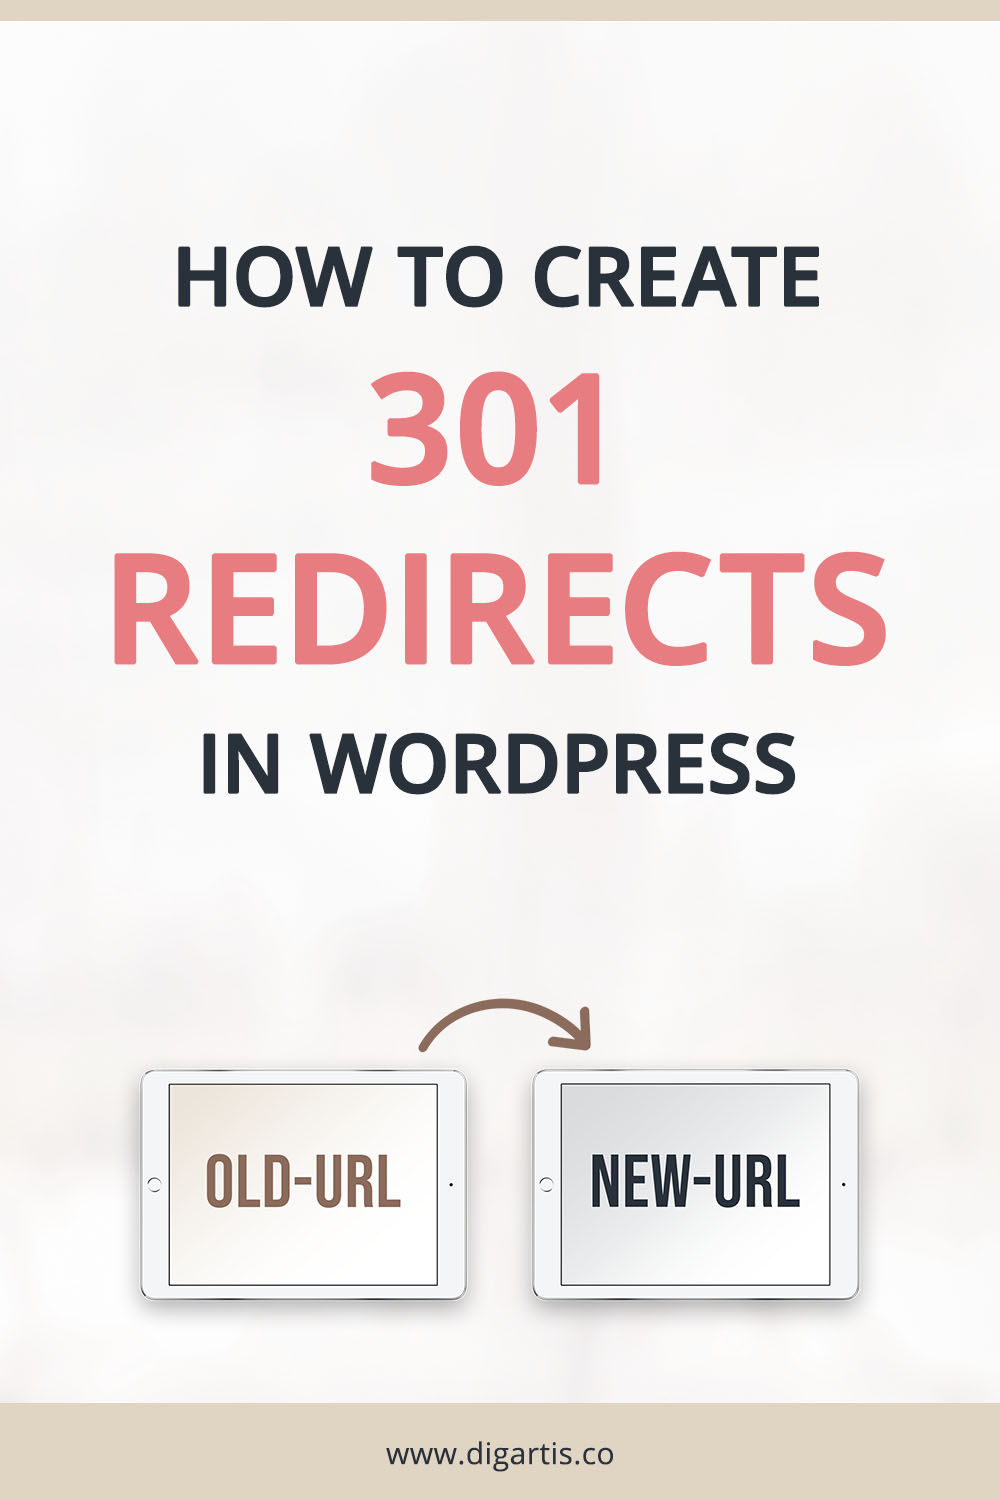
A URL redirect is a web server feature that sends a visitor from one URL to another. There are various types of redirects, but we will only talk about the 301 redirect here, which is by far the most important. A 301 redirect is a permanent redirect that will automatically transfer all visitors and search engines to the new location.
Why are 301 redirects important?
When you migrate your website to another domain or a web page to a new location, it is crucial to create a 301 redirect. A redirect allows website visitors and search engines to reach the new URL by using the old one. That ensures they get access to the desired content and reduces broken links on your website.
Broken links can be harmful to your website in many ways:
- Visitors can’t access the content they wanted. It leads to bad user experience, and ultimately visitors leaving your website.
- Search engines can not crawl the URL anymore. All the link juice you gained on this URL will be lost.
- If your website has many broken links, it may harm your website search ranking.
Redirects will solve all of these issues and help you maintain the backlink strength of your old page and transfer the traffic to the new one.
When do we use WordPress redirects?
It’s important to create redirects when you:
- delete a post or page, and you want visitors to visit a new post or page instead, or
- change the permalink of a post or page.
Now that you know the why and when of redirects, let’s take a look at how you can actually set them up in WordPress.
Create redirects with plugins
This is the simplest approach and one that we recommend for WordPress users that lack the technical knowledge required for web server configuration. One of the best plugins for managing redirects is the Redirection plugin, which helps you monitor 404 errors on your WordPress website and set up a redirect in a matter of minutes.
First, install and activate the Redirection plugin. Once activated, visit Tools > Redirection. To create a 301 redirect, all you need to do is enter the source URL – the URL of the old page that doesn’t exist anymore, and the target URL – the URL of the new page where you want visitors to be redirected to. Hit the Add Redirect button, and that’s it! Easy peasy!

For advanced configuration, click on the gear icon next to the Add Redirect button. A new set of options will appear to change the type of redirect, how it should match the URL, and so on. However, in most cases, a simple setup will be enough.
Setting Up 301 Redirects in WordPress using .htaccess
You can also create redirects by adding code to your .htaccess file, a web server configuration file. However, this method is only recommended for those who have some coding experience, as messing with the .htaccess file can break your WordPress website.
Important note! Before you do any changes to your .htaccess file, you should back it up first. Just download the original version of the file to your computer, so you can quickly override the broken .htaccess file with the old one if something goes wrong.
So if you’re happy to do a little bit of coding here is what you need to do:
- Connect to the web server using an FTP client. If your web server has a control panel (e.g. cPanel) installed, you can use the file manager instead.
- You will usually find the .htaccess file in the root directory of your WordPress installation. Edit it by using a simple editor like Notepad or directly in the file manager of your web hosting control panel.
- Add the code below to your .htaccess file, preferably to the end of it. Replace the URLs with your own, and you are good to go.
- Save the file and upload it to the server.
RewriteEngine On
Redirect 301 /old-post-url/ http://yoursite.com/new-post-url/
That’s it! You should possess the knowledge to manage redirects on your own. Just remember to actively monitor for 404 errors to keep your website free of broken links.
Is fixing broken links part of your website maintenance routine? Feel free to share with us how you tackle this issue in the comment below.


Setting up redirects has caused me a lot of headaches in the past and this article has helped me out a lot! Thanks for sharing this!