With the introduction of Gutenberg, the content editing process in WordPress has been revolutionized. Instead of a simple add media button, we now have four different blocks for adding images at our disposal, each one for a specific purpose. The goal of this article is to show you how and when to use each of these image blocks. So without further ado, let’s jump right into it!
Important note! This article requires a basic understanding of the Gutenberg editor. If you are not familiar with it, here is a list of previous posts that will help you get the grasp of it.
Related articles:
How to add images
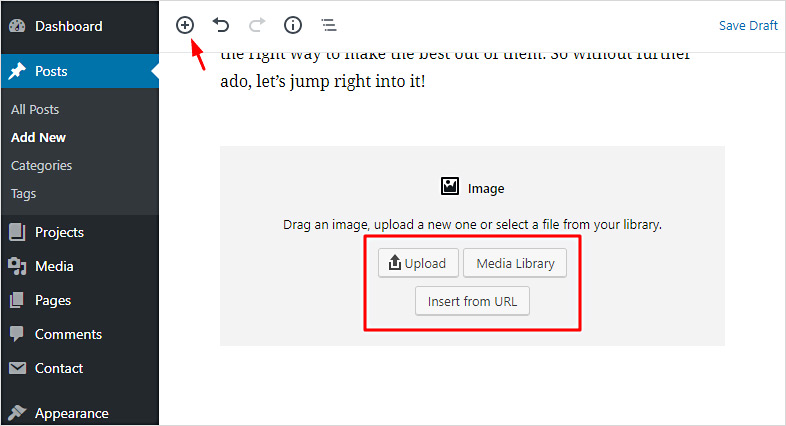
In Gutenberg, all images are blocks. To add an image block, click on Add block, a plus icon located in the top left of the editor viewport. Select one of the image blocks, and you’ll see these options for inserting images appear:
- Upload – upload an image from your computer.
- Media library – insert an image from the media library.
- Insert from URL – enter the URL of an image that’s located somewhere else on the web, only available with the basic Image block.
There are 4 different types of image blocks you can use:
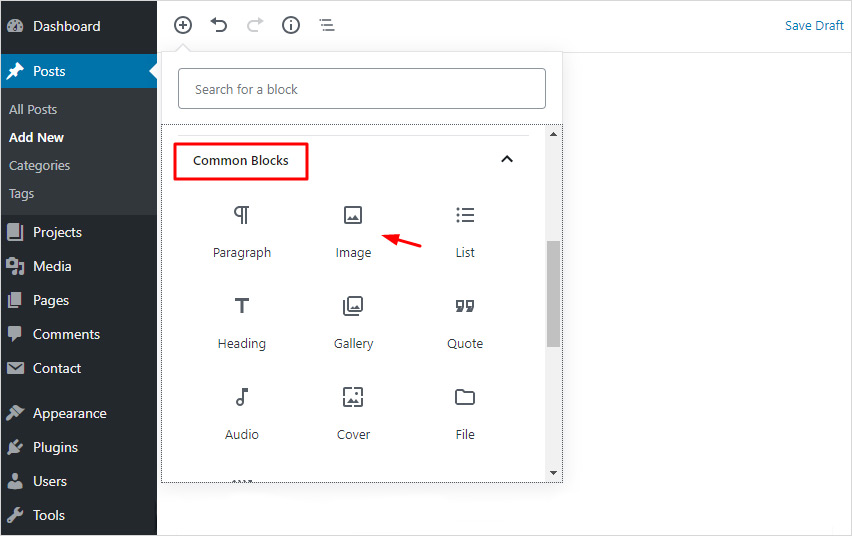
1. Image block
This is the most common way of adding images in the Gutenberg editor. You should use this block in most cases when you need to insert an image into your content. You can find it under Common Blocks > Image.
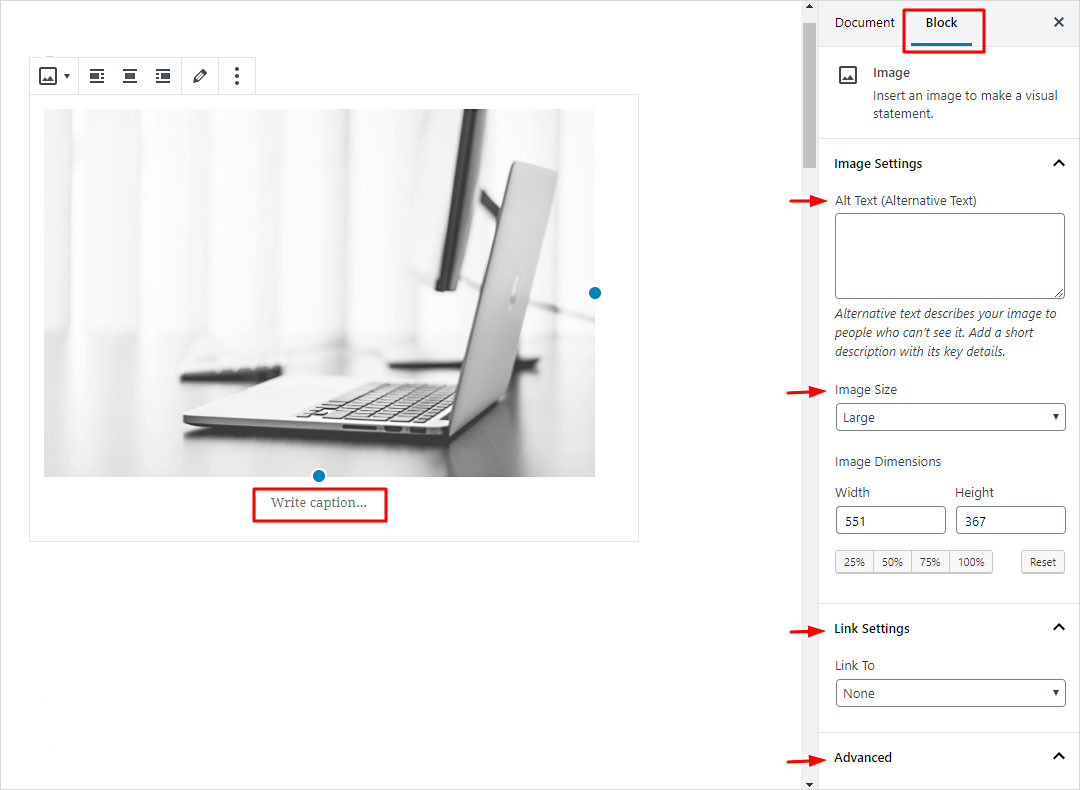
Once you add an image, you will see the image settings appear in the right sidebar under the “Block” tab. If you can’t see the sidebar, turn it on by clicking the gear icon in the top right corner of the viewport. You should be familiar with these settings from the old editor. You can tweak them to change the image alt text, size, and link.
In the Advanced panel at the bottom of the sidebar, you can add a custom CSS class, which you can use to style an element, in this case, an image block, in a specific way. Read more about CSS classes here.
When you click in the image block area, you will see two handles appear – blue dots on the right and bottom of the inserted image – to assist you with resizing. Under the image, you’ll find a field to enter the image caption.
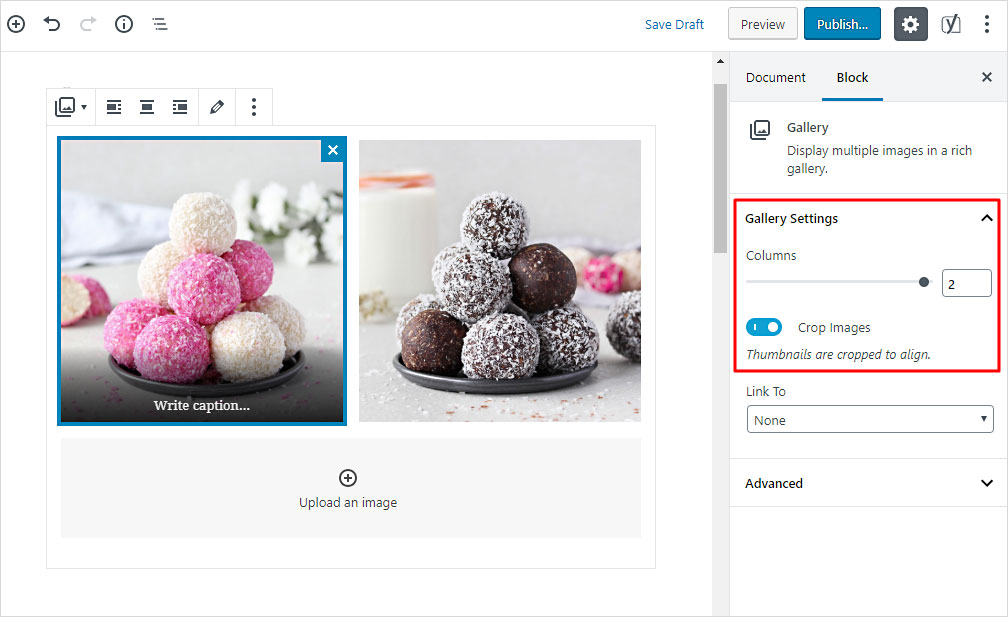
2. Gallery block
Sometimes you will need to insert multiple images to create a gallery. In this case, the Gallery block is your best option. You can find it under Common Blocks > Gallery.
The gallery block has two basic settings. First, you can increase/decrease the column count – number of images per row – to adjust the gallery grid layout. Second, you can change the image crop settings. If you select the Crop Images option, your images will get cropped to fill up the whole width of the column. If the crop option is not selected, the whole images will be displayed instead, without cropping.
3. Media & Text block
You can use this block to position an image next to the text (inline image). It is found under Layout elements > Media & Text.
A typical use case for the Media & Text block would be when you need a small image positioned before a heading or paragraph. You can switch the position of the image to the left or right. To make this layout responsive, you can choose the option to Stack on mobile, which will stack the image and text vertically on smaller devices.
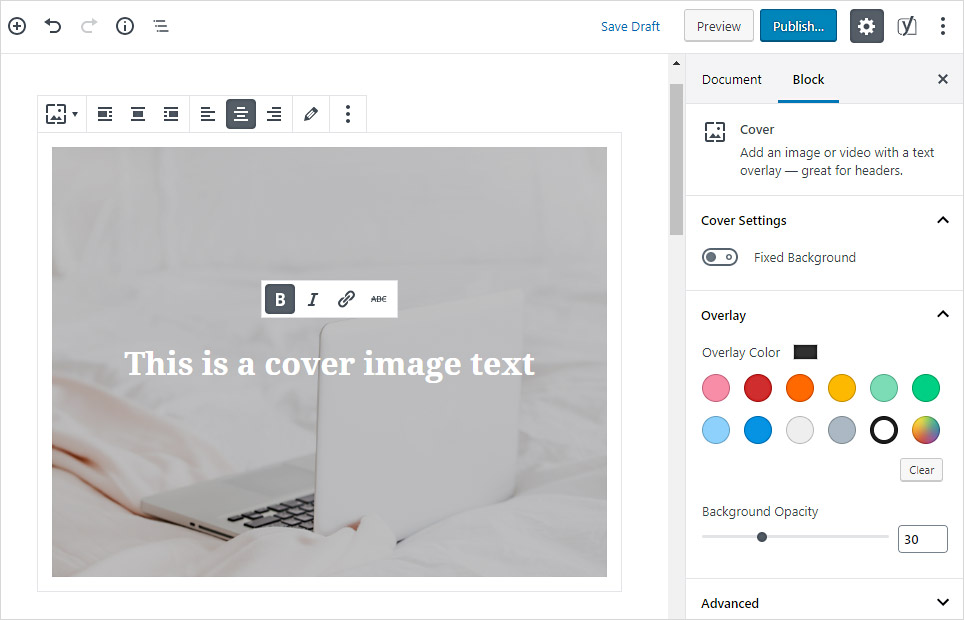
4. Cover block
If you need to create appealing content headers and banners for your blog posts, this is the block you’ll want to use. You’ll find the Cover block under Common Blocks.
Styling a Cover block is very simple. First, you add a background image from the media library or your computer. As soon as you add the background, a paragraph block will appear in the center, where you can write the text for your banner. You can also align the text, format it, and add links to it.
Second, you can style the overlay of the background image. In the Block settings sidebar, you can change the background color and opacity of the overlay to create a stunning visual effect. You can also create a simple parallax by selecting the “Fixed Background” option.
Do you find the new image blocks useful? Which one do you like best? Let us know in the comment below.