In the CSS Basics for Bloggers article, we went through the basics of CSS selectors. In this article, we will go a bit further and show you how you can apply this knowledge to make your blog look amazing.
Classes and ids are HTML element attributes that are very common in web development. So why should you, as a blogger or website owner, learn how to use them?
Well, there are three main reasons:
- If you are making small styling tweaks to your posts/pages regularly, they will save you a lot of time.
- You’ll be able to make changes you couldn’t before.
- It will take very little time to get a grasp of them.
Classes
Classes are used to style HTML elements with the same class name. They can be used multiple times on a web page. Some parts of your blog posts, such as headings and links, are repetitive, and you want them styled consistently throughout your blog. Classes can be a huge time saver in these cases.
So let’s look at a specific example. You have many h2 headings on a single blog post, and you want all of these look the same in all of your blog posts. Without using classes, you would have to style every single h2 heading on your blog, just as in the example below.
<h2 style="color:blue; font-size:30px;">This is a heading</h2>Now, when you use classes instead, it becomes really easy to change their styles. You only need to change the CSS properties linked to this class, and the changes will apply to all headings that contain the same class name. And it’ll only take you a minute or two!
How to use classes
1. Think of a class name. The name is completely up to you. It can contain any letter or number. It can also contain a dash. But it can only start with a letter. I recommend you to give your HTML elements a class name that makes sense and will be easy for you to remember. A few examples of valid names are myclass, blog-heading, linkstyle2, etc.
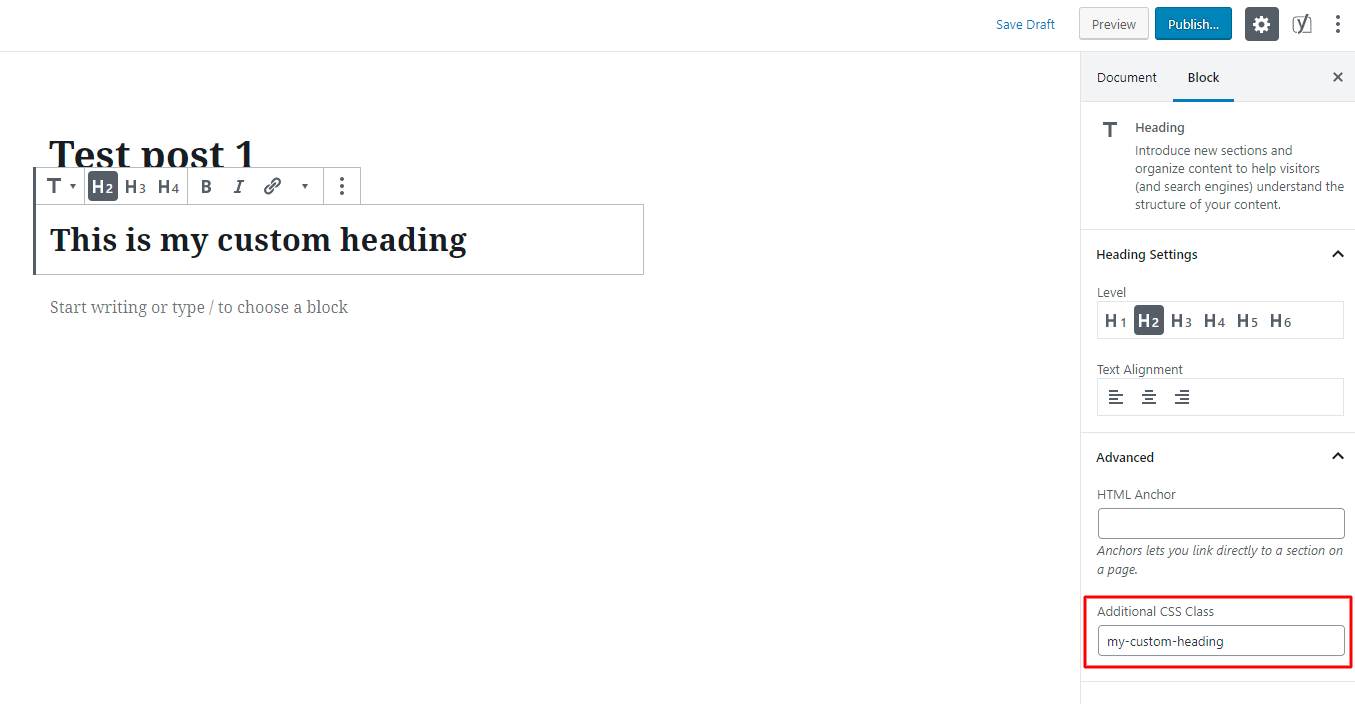
2. When you are writing a post/page, select the block you want to be styled, go to the Block tab and add the class name to the Additional CSS Class field. Now you have everything in order to apply custom styles to the block.
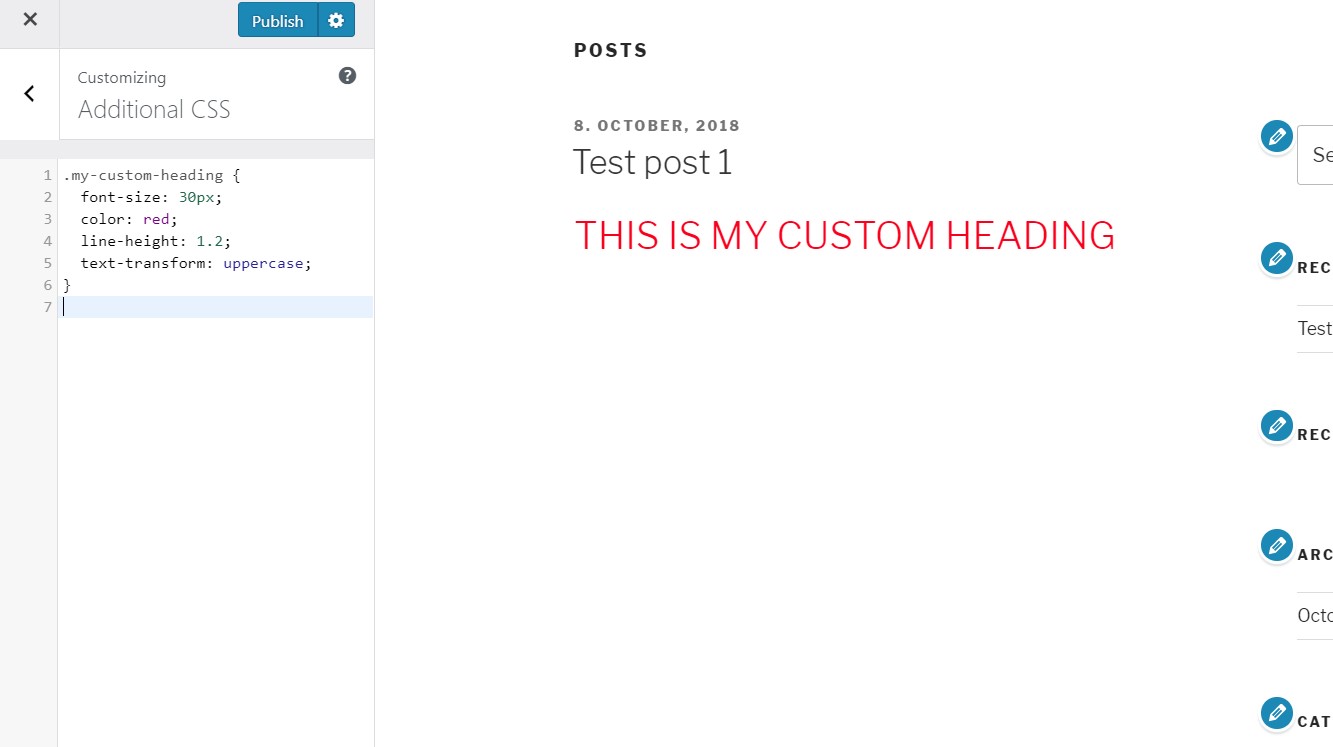
3. Go to Appearance > Customize > Additional CSS. Here you can add styles to your classes. The class selector always starts with a period, and all the styles reside between opening and closing curly brackets.
IDs
They are used to target a specific element and can be used only once per web page. They are less useful than classes, but there is one specific case when they will come handy – jump to links. These links make navigation to different sections of a page/post quicker.
How can you make a jump to link?
- Select one of the Heading blocks you want the link to take you. Go to the Block tab > Advanced > HTML Anchor, where you’ll find a field to enter the anchor – id attribute. As with class names, id names are entirely up to you. The same naming rules apply to them.
- Now, all that’s left to do is to create a link pointing to this anchor name. To act as a link, you have to put a hash (#) in front of the name.
Let’s have a look at this example. I have given the above h2 (Classes title) an anchor name of “jump-to-class”. I have also added #jump-to-class to the link below to allow quick navigation to this specific part of my post. Just try to click the link below to see it in action.
<a href="#jump-to-class">Jump to classes</a>Do you ever struggle to style your blog posts? If so, what makes you waste the most time? Let us know in a comment below.