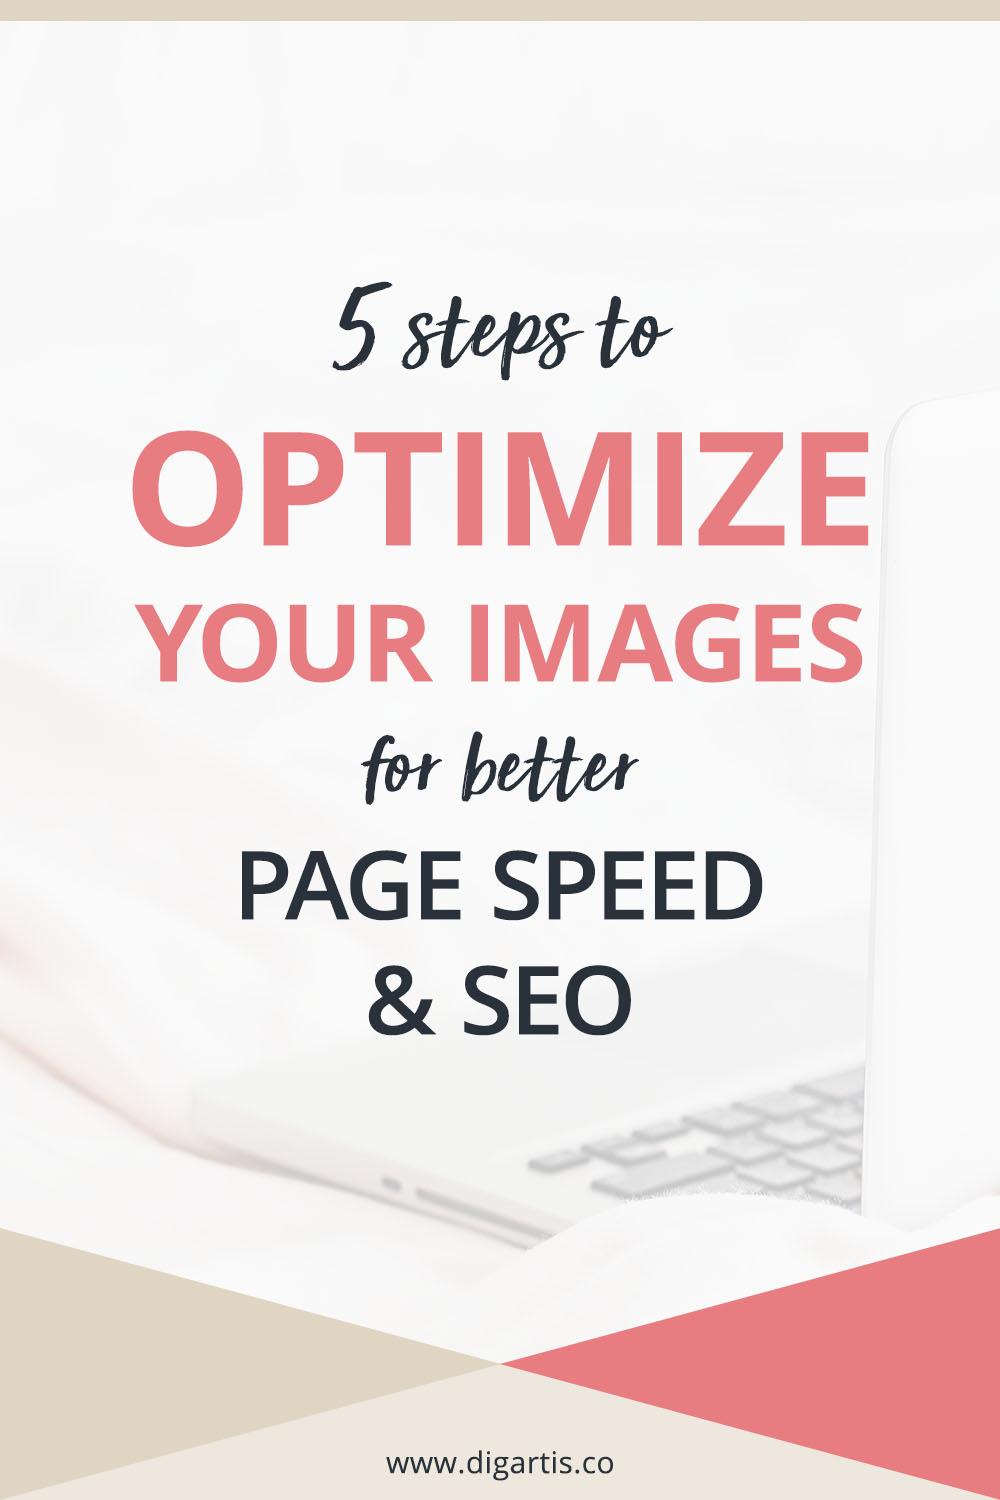
To make your website interesting for visitors, you need to use plenty of good images. They help capture the visitor’s attention and serve as a visual aid to complement the text content. Unfortunately, they are also typically the largest files on a website and, therefore, the biggest culprit for slowing it down. That is where image optimization comes into play.
In this article, we will give you a step by step process to follow every time you upload an image to your website to make sure it’s well optimized, so you get the most of it.
What is image optimization and why is it important?
Image optimization is a rather simple but time-consuming process that requires a lot of diligence on your part. This process aims at two things:
- reducing the size of an image (scaling and compression), and
- making the image SEO friendly.
The main objective of image optimization is to reduce page load times to improve the user experience. Each image on the webpage is a separate file that needs to be downloaded by the browser. The larger the file is, the longer it takes to download. Large images can take a while to load, especially if the visitor’s internet connection is slow, which may cause many people to grow impatient and leave the website.
Images are also very important from the SEO perspective. Many people look for images on search engines such as Google, and to get your fair share of the traffic, you will want to put some effort into making your images search engine friendly.
Image optimization – the step by step process
1. Choose the correct image format
First things first, you should save your images in a correct format as this will directly affect their size and quality. So how do you decide which one to pick? Here is a quick explanation of the popular formats and when to use them.
JPG/JPEG is the most common image format used on the web. This format uses lossy compression, so there is always a certain degree of quality loss associated with it. JPG images are small in size and typically used for photos where you need a wide range of colors. However, they are not the best choice for logos or icons as compression makes them look pixelated.
PNG format uses lossless compression. The main advantage of PNG images is that, unlike JPG, they support transparency. Another great way to use PNGs is for screenshots when you usually only need a small range of colors. However, this image format is not recommended for photos as it will create a much larger file size compared to JPG.
WebP is a relatively new image format that provides a superior lossless and lossy compression. It creates much smaller file sizes than PNG or JPG, but it is not compatible with all browsers. If you choose to use this format, you should use alternative – fallback – images for browsers that do not support WebP format, mainly Safari and Internet Explorer.
SVG is a vector image format. The main advantage of using vector images is that they always stay sharp no matter how much you resize them. They are also much smaller compared to raster images. We commonly use SVG for logos and icons.
2. Resize images
The second step in optimizing images is to scale them correctly.
Let’s think about the following example for a moment. The maximum width of the image displayed on the website is 500 pixels. It would be really wasteful to use an image with the resolution of 2000px by 1000px as it will be unnecessarily large. Therefore, in this case, you should only use an image that is 500px wide, or up to twice as much for retina screens.
To resize images to the optimal resolution, you can use any image editing tools like Photoshop, online image resizers, etc.
3. Compress images
The next step is image compression. There is no “one size fits all” approach when it comes to image compression. It really depends on your specific case. To determine what is the right compression, you should ask yourself the following questions.
Is it just a background image that makes the website look prettier, or does it help explain the content?
How important is the image sharpness for understanding?
If your image contains text that needs to be legible, or certain elements that need to be clearly visible on any screen, you should compress it cautiously so that you don’t sacrifice too much quality. On the other hand, if the image is just a visual accessory to make the website look prettier, you can perhaps compress it a bit more.
4. Give your images a readable name
Every image file you upload to your website should have an appropriate name. When you name your files, don’t just label them “image-1”, “image-2”, etc. Instead, give them a descriptive name in plain English that explains their content and ideally includes a keyword. The clearer your image names are, the easier it will be for search engines to understand them and display them in relevant search results.
A good example of a name for an image that shows a panoramic view from the Eiffel Tower would be “eiffel-tower-paris-panorama.jpg”.
5. Add a descriptive alt text
Finally, you should write a good alt text (alternative text) for all your images that accurately describes what’s on them. The alt text is what you see on the website when the image fails to load. You should include keywords in it, but don’t get carried away. Search engines can view keywords stuffing as over-optimization and penalize you for it. Identify one or two images you think are the most representative of your topic and give their alt text a few keywords. Avoid using the same keywords in the rest of the images.
If we go back to our previous Eiffel Tower example, a good alt text would be something like this “Spectacular panoramic view of Paris from the Eiffel Tower”.
Conclusion
Image optimization is an ongoing process that is essential to improve your website speed and SEO. Although it may seem like a lot of work at first, it will get much faster once you get used to the process. And if done correctly and diligently, it will benefit your website in a significant way.
Is there anything else that you would like to know about image optimization? If so, please leave a comment below, and we’ll be happy to answer you.