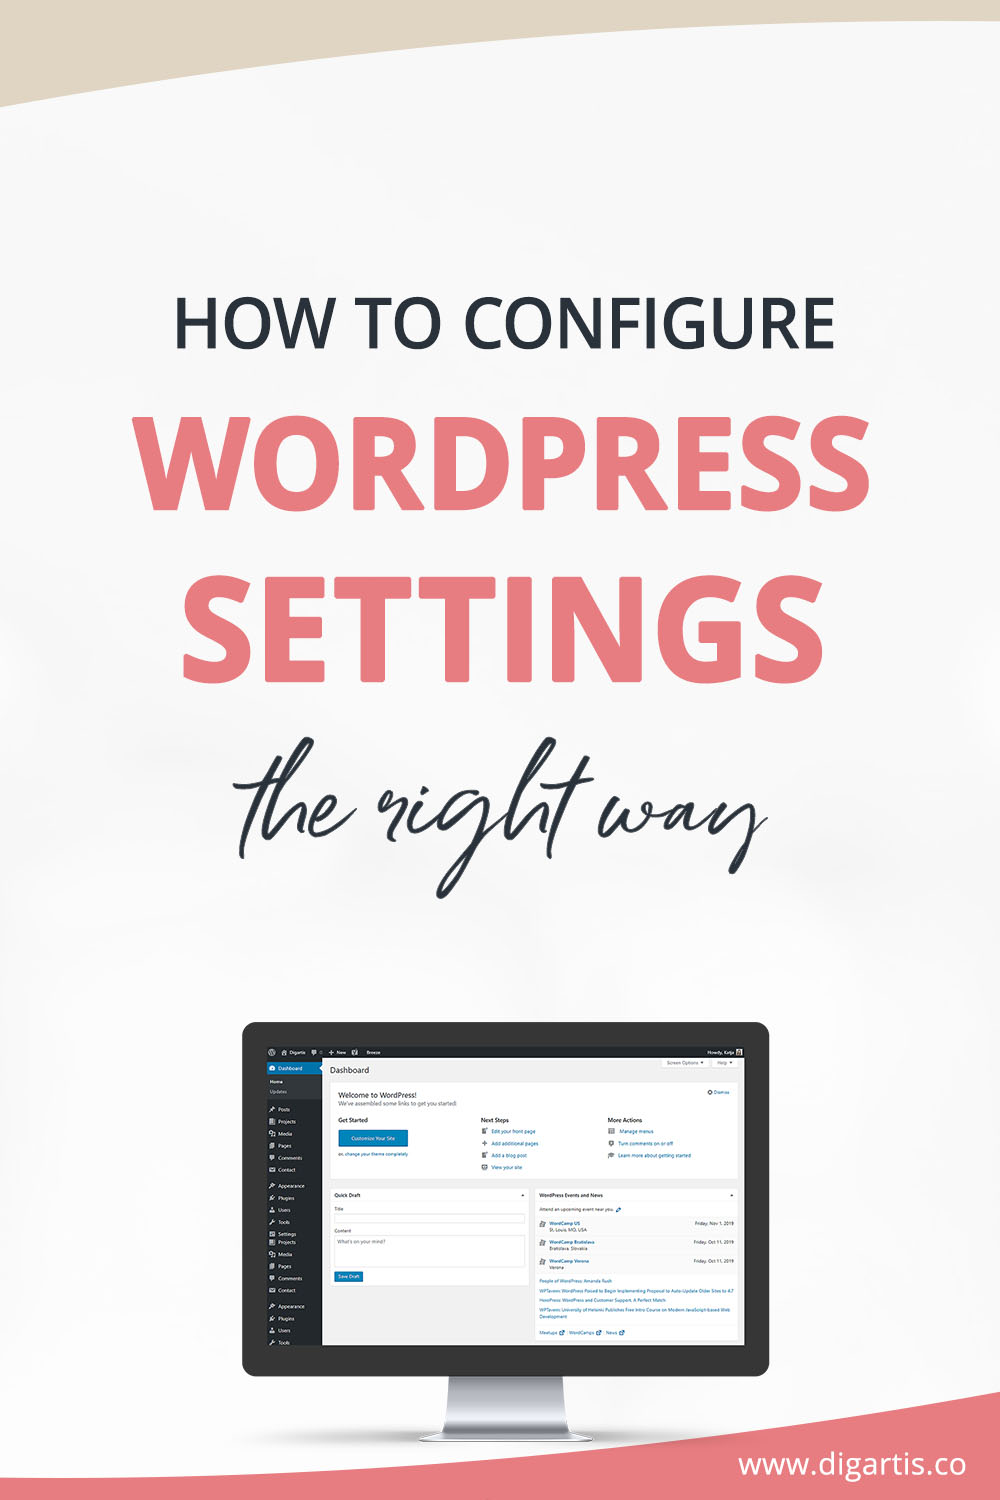
You have installed WordPress, your plugins, and activated your theme. So now what? The next step is to configure your WordPress settings. These may not seem that important at first but will tailor your WordPress admin area to your preferences and make sure everything is in order before you start writing your content. So let’s dive right into it!
WordPress General Settings
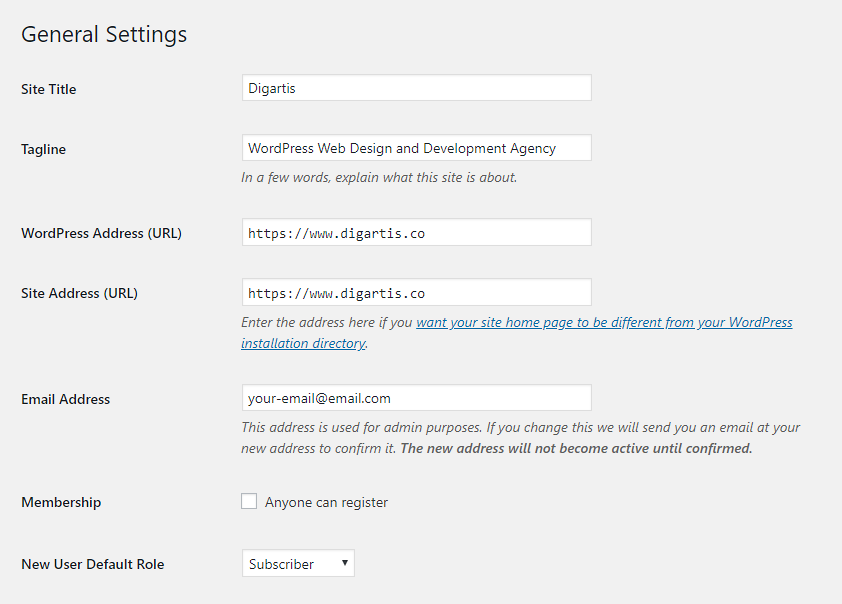
Write a site title and tagline
The site title and tagline are part of your site identity and, as such, important for SEO. They appear on the browser tabs and in the search engine results. The site title should be the name of your brand, whereas the tagline should be a short phrase that describes your website, similar to an advertising slogan. It’s also a good idea to include the top keywords associated with your website in the tagline.
You can change the site title and tagline in two locations. First, go to Settings > General, where you’ll find two inputs at the top. Alternatively, you can head to Appearance > Customize > Site Identity.
Adjust site language and time
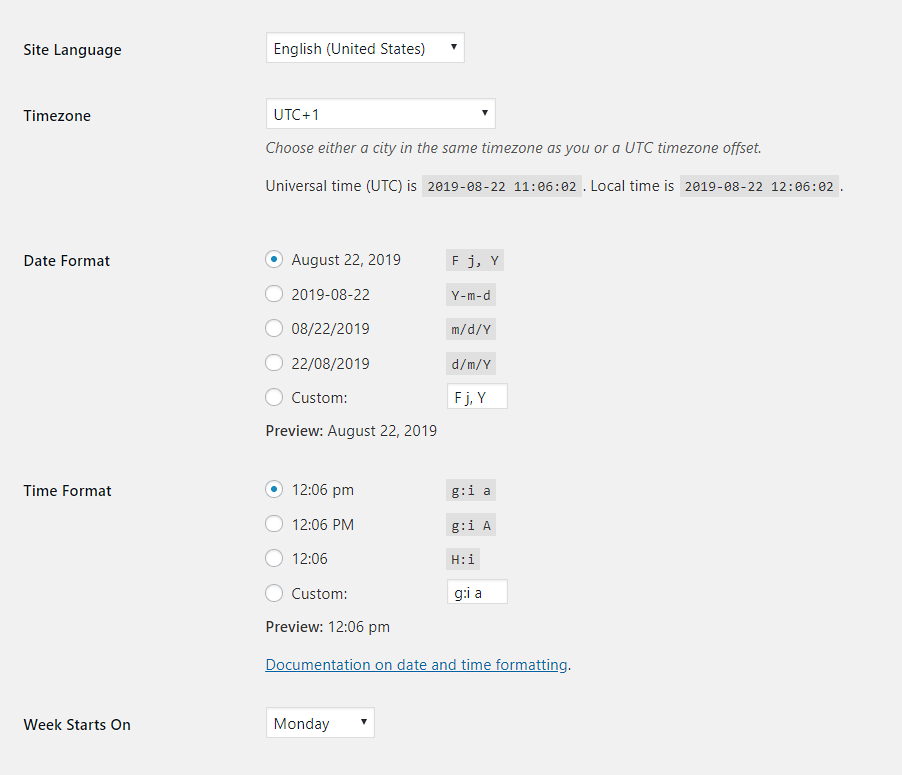
The site language is set to English by default. If you prefer your WordPress admin area to be in another language, you can easily change that. WordPress supports most languages, so you shouldn’t have any trouble finding your own. Go to Settings > General > Site language and select your language from the dropdown.
Next, you will want to set the timezone, time/date format, and the first day of the week. Whenever you change settings, make sure you save them by clicking the Save Changes button at the bottom of the page.
WordPress Writing Settings
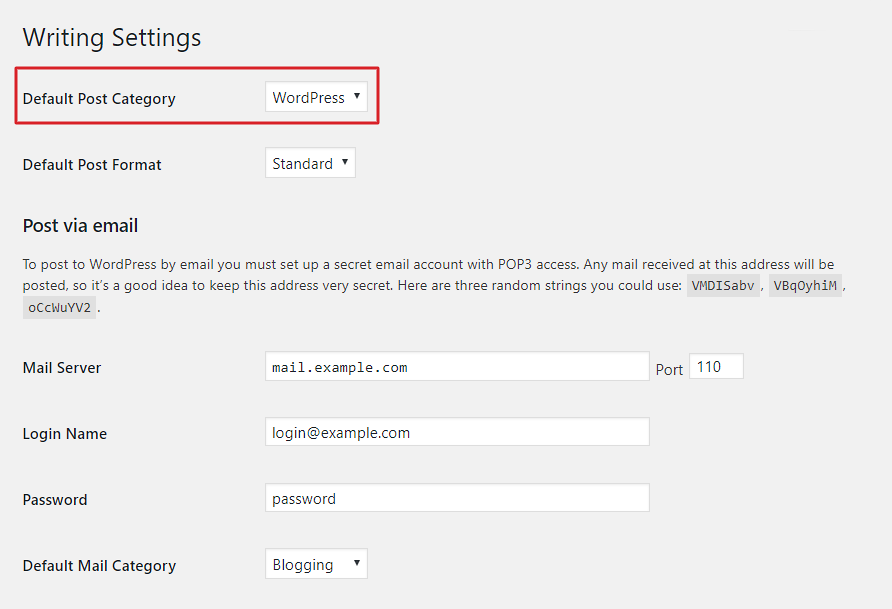
Set the default post category
Each WordPress post has to belong to at least one category. If you don’t choose one, your blog post will automatically get labeled as Uncategorized, which is the default category in WordPress.
You can change that in your WordPress settings. Go to Settings > Writing and select a new default post category from the dropdown menu.
Important note! If you haven’t created any categories yet, you’ll have to do this first. To add a new category, go to Posts > Categories, enter a name and description, and click on Add a new category.
For other settings in this section, the default values will do just fine for most websites.
WordPress Reading Settings
Define your home and blog page
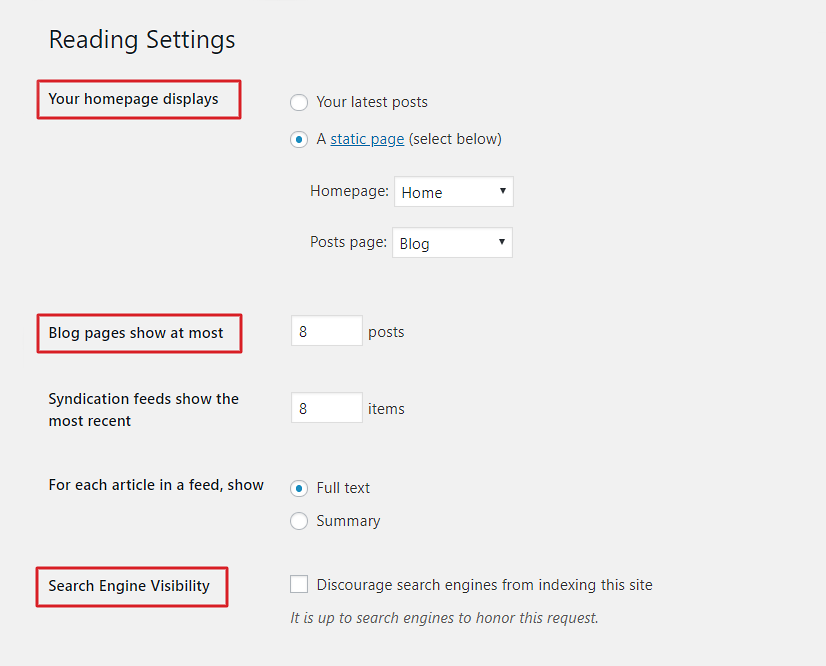
To make the best use of your theme, you should tell WordPress which page is your home page and which one is your blog. By default, WordPress will set your homepage as a blog, which may not work for you.
To change it, go to Settings > Reading, and you will see two options at the top. If you’re happy with your blog being on the home page, you can leave the first option selected. Otherwise, check the second one and select both your home and posts page from the dropdowns.
Set up the number of posts per page
By default, WordPress displays ten blog posts per page. To change this, go to Settings > Reading and change the number of posts to any number. Please keep in mind that the more blog posts you display on a single page, the longer it takes to load. So we recommend you don’t go higher than 15 posts per page.
Set up search engine visibility
Make sure you leave this option unchecked as this will allow search engine bots to index your website. The only good reason not to do that is if your website is not yet ready to welcome visitors because you’re still working on it.
To let search engine bots do their job, go to Settings > Reading, navigate to the bottom of the page, and uncheck the box.
WordPress Discussion Settings
Configure WordPress comments
If you want visitors to leave comments on your blog posts, you need to set this up correctly. Go to Settings > Discussion, where you will find all comment settings that will be applied sitewide (you can later disable comments on a particular blog post if you want to).
For most blogs, the following options should be checked:
- Attempt to notify any blogs linked to from the article,
- Allow people to post comments on new articles,
- Comment author must fill out name and email (forcing users to leave their email gives their comment credibility)
- Enable threaded (nested) comments at least 3 levels deep (so users can reply to each other in a thread)
- Comment author must have a previously approved comment (to make sure spam comments don’t get published on your blog)
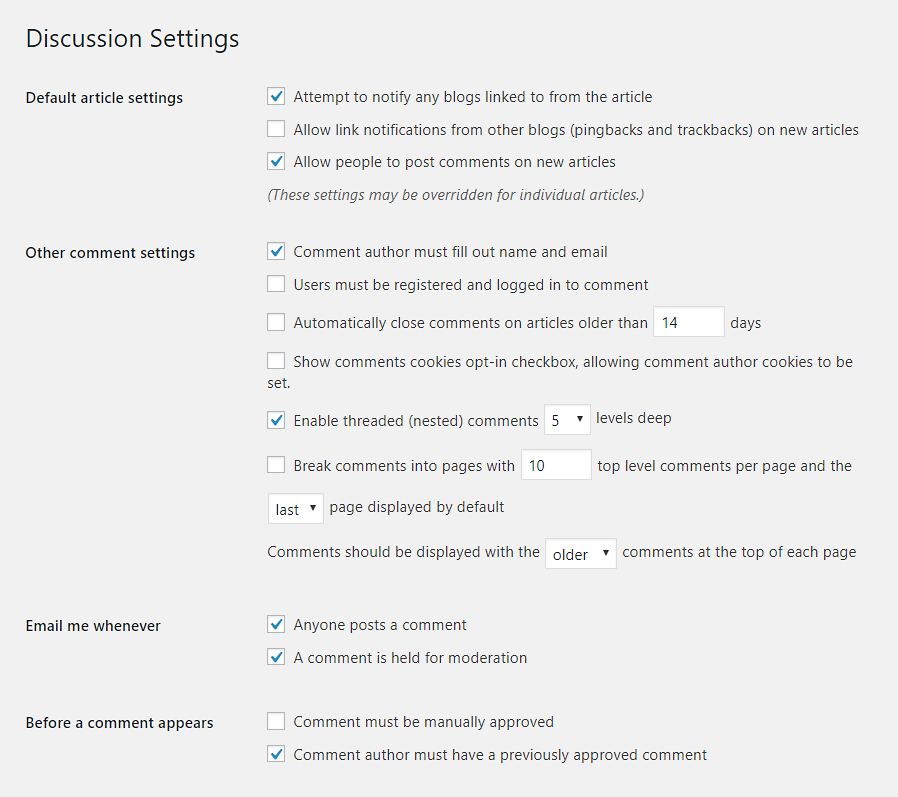
The rest of the settings are optional and completely up to you.
WordPress Media settings
In this section, you can change the default image sizes for your website. Most of the themes will take care of how the images get displayed on the front end of your website, so you won’t need to worry about these settings.
You should also leave the default option of organizing the uploads into month and year folders checked. That will keep your media files grouped by date.
WordPress Permalink settings
The permalink is the part of the URL that follows the domain name. Changing the WordPress permalink structure is essential for SEO purposes. You want to make sure your posts’ and page’s URLs are search engine friendly and readable.
To change the permalink structure sitewide, go to Settings > Permalinks and switch to the Post name option. Alternatively, you can change it to some other custom structure such as this one:
www.mywebsite.com/%category%/%postname%/
In the latter example, the post URL includes the name of the category before the post name, so it will be slightly longer. From the SEO perspective, your URLs should be short, so the first option should work better. It’s also the one we are using.
Important note! Setting your permalink structure like that applies to all posts on your website. You can override the permalink for a particular post by editing its slug.

Select your privacy policy page
No matter what kind of website you have, you should always create a privacy policy page. To let WordPress know which page you’re using for this purpose, go to Settings > Privacy and select a relevant page from the dropdown.

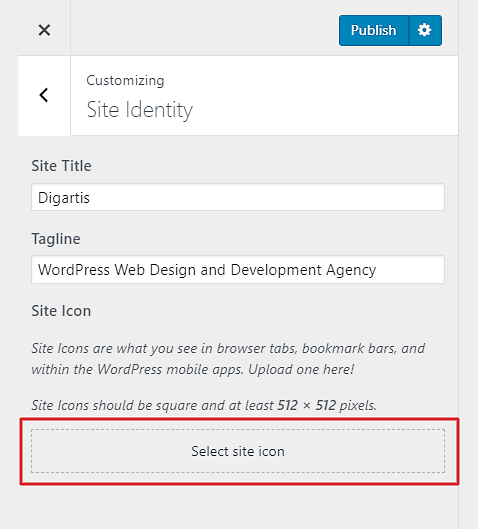
Upload a favicon
A favicon, also known as site icon in WordPress, is a small image that represents your website, displayed in the URL bar of your web browser, browser tabs, and bookmarks. It helps build your brand and improve user experience.
To upload it, go to Appearance > Customize > Site Identity. At the bottom, you will find a spot reserved to upload your site icon.
Well done! You should now be comfortable changing your WordPress settings. If you have any additional questions, ask us in the comment below or pop us an email and we’ll be happy to help you.